You have probably tried the many ‘substitute milk’ products that are found while grocery shopping these days. I was never really that impressed by them. Being a Jersey girl, I was used to the really rich milk! I thought I’d experiment with making some home-made almond milk. Let me reassure you, there is no comparison in flavour. Home-made almond milk is amazing and it is so easy to make and inexpensive! Here is your step by step guide on how to make almond milk.
Here is what you need:
Equipment:
Equipment
- Blender
- bowl
- Nutbag or cheese cloth and a strainer

Ingredients
Ingredients:
- 1 cup raw almonds
- 2 cups of water
- a date (optional)
Method: 
1/ Place the almonds in a bowl, covered with water to soak over-night (8 -12 hours).
2/ Drain off the water and rinse the almonds.
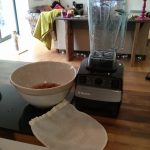
3/ Place the almonds in your blender, add 2 cups of water. You can make the milk creamier by adding less water or of course, less creamy by adding more water depending on your preference.
x1 almonds, x2 H2O
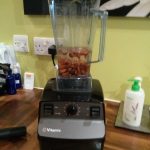
4/ Then blend. How long for you ask? Well that depends on how good your blender is; I usually blend on high for 30 seconds. You want the almonds to be completely blended.
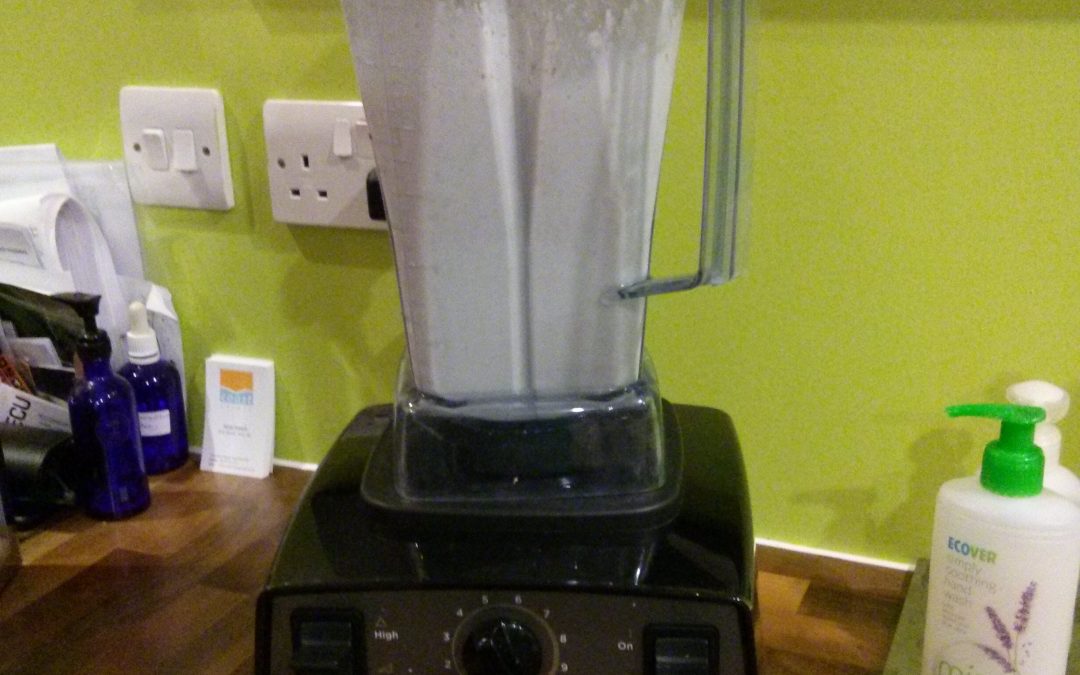
Blend
5/ Once you have the correct texture, pour the mixture into your nut bag, or whatever you are using to strain it or just use it unstrained. If you are straining, then pour it into the nut bag and start squeezing to remove as much of the liquid as possible. It’s a little messy but no big deal and is done before you know it.
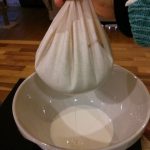
Squeeze
6/ Pour the milk into a glass container. I used a jar until I bought this jug, which I love. It pours really well – no dripping and it allows me to shake the milk a little before I use it (you need to do this as it is not homogenised).
Now you have almond milk and not an udder in sight!
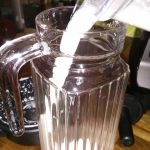
Glass container
7/ Add a little sweetness to the almond milk if you wish by throwing in a couple of dates to the liquid and blend the milk again until smooth. Alternatively, use Maple Syrup. You could also add other flavours such as vanilla or cinnamon or mix in some carob or raw chocolate if you feel really wild! Then you’d have chocolate almond milk. However, let me reassure you, this milk doesn’t need anything added but if you like to experiment, the combinations are endless. Go really crazy, use cashews instaed of almonds!
The milk will store in the fridge for between 4-7 days.
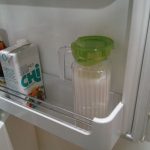
Stores 4 to 7 days
How to use it:
Use it in drinks, over cereals, in recipes, smoothies or anyway your heart desires – even just in a glass, cold from the fridge – YUM.
What to do with the left over paste stuff?
If you are in to ‘raw food’ and have a dehydrator, you could make crackers or you could gently dry it out in the oven and make almond flour! in the mean time – just freeze it until you are ready to use it.

Left-over uses?
Give it a go and let me know how you get on. One thing is guaranteed, you will never want to buy any of that other stuff again, especially if you read the ingredients on the label!
Written by Anne French, Chiropractor and Functional Medicine Practitioner.